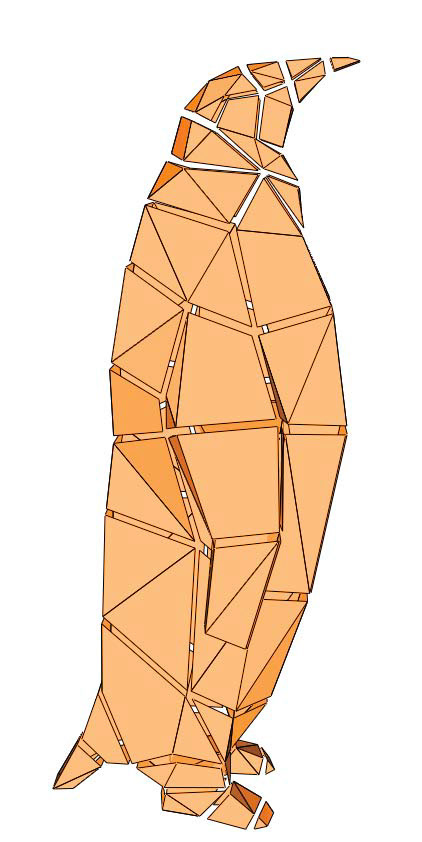
Ride a Penguin with a RadPowerBike + Makedo
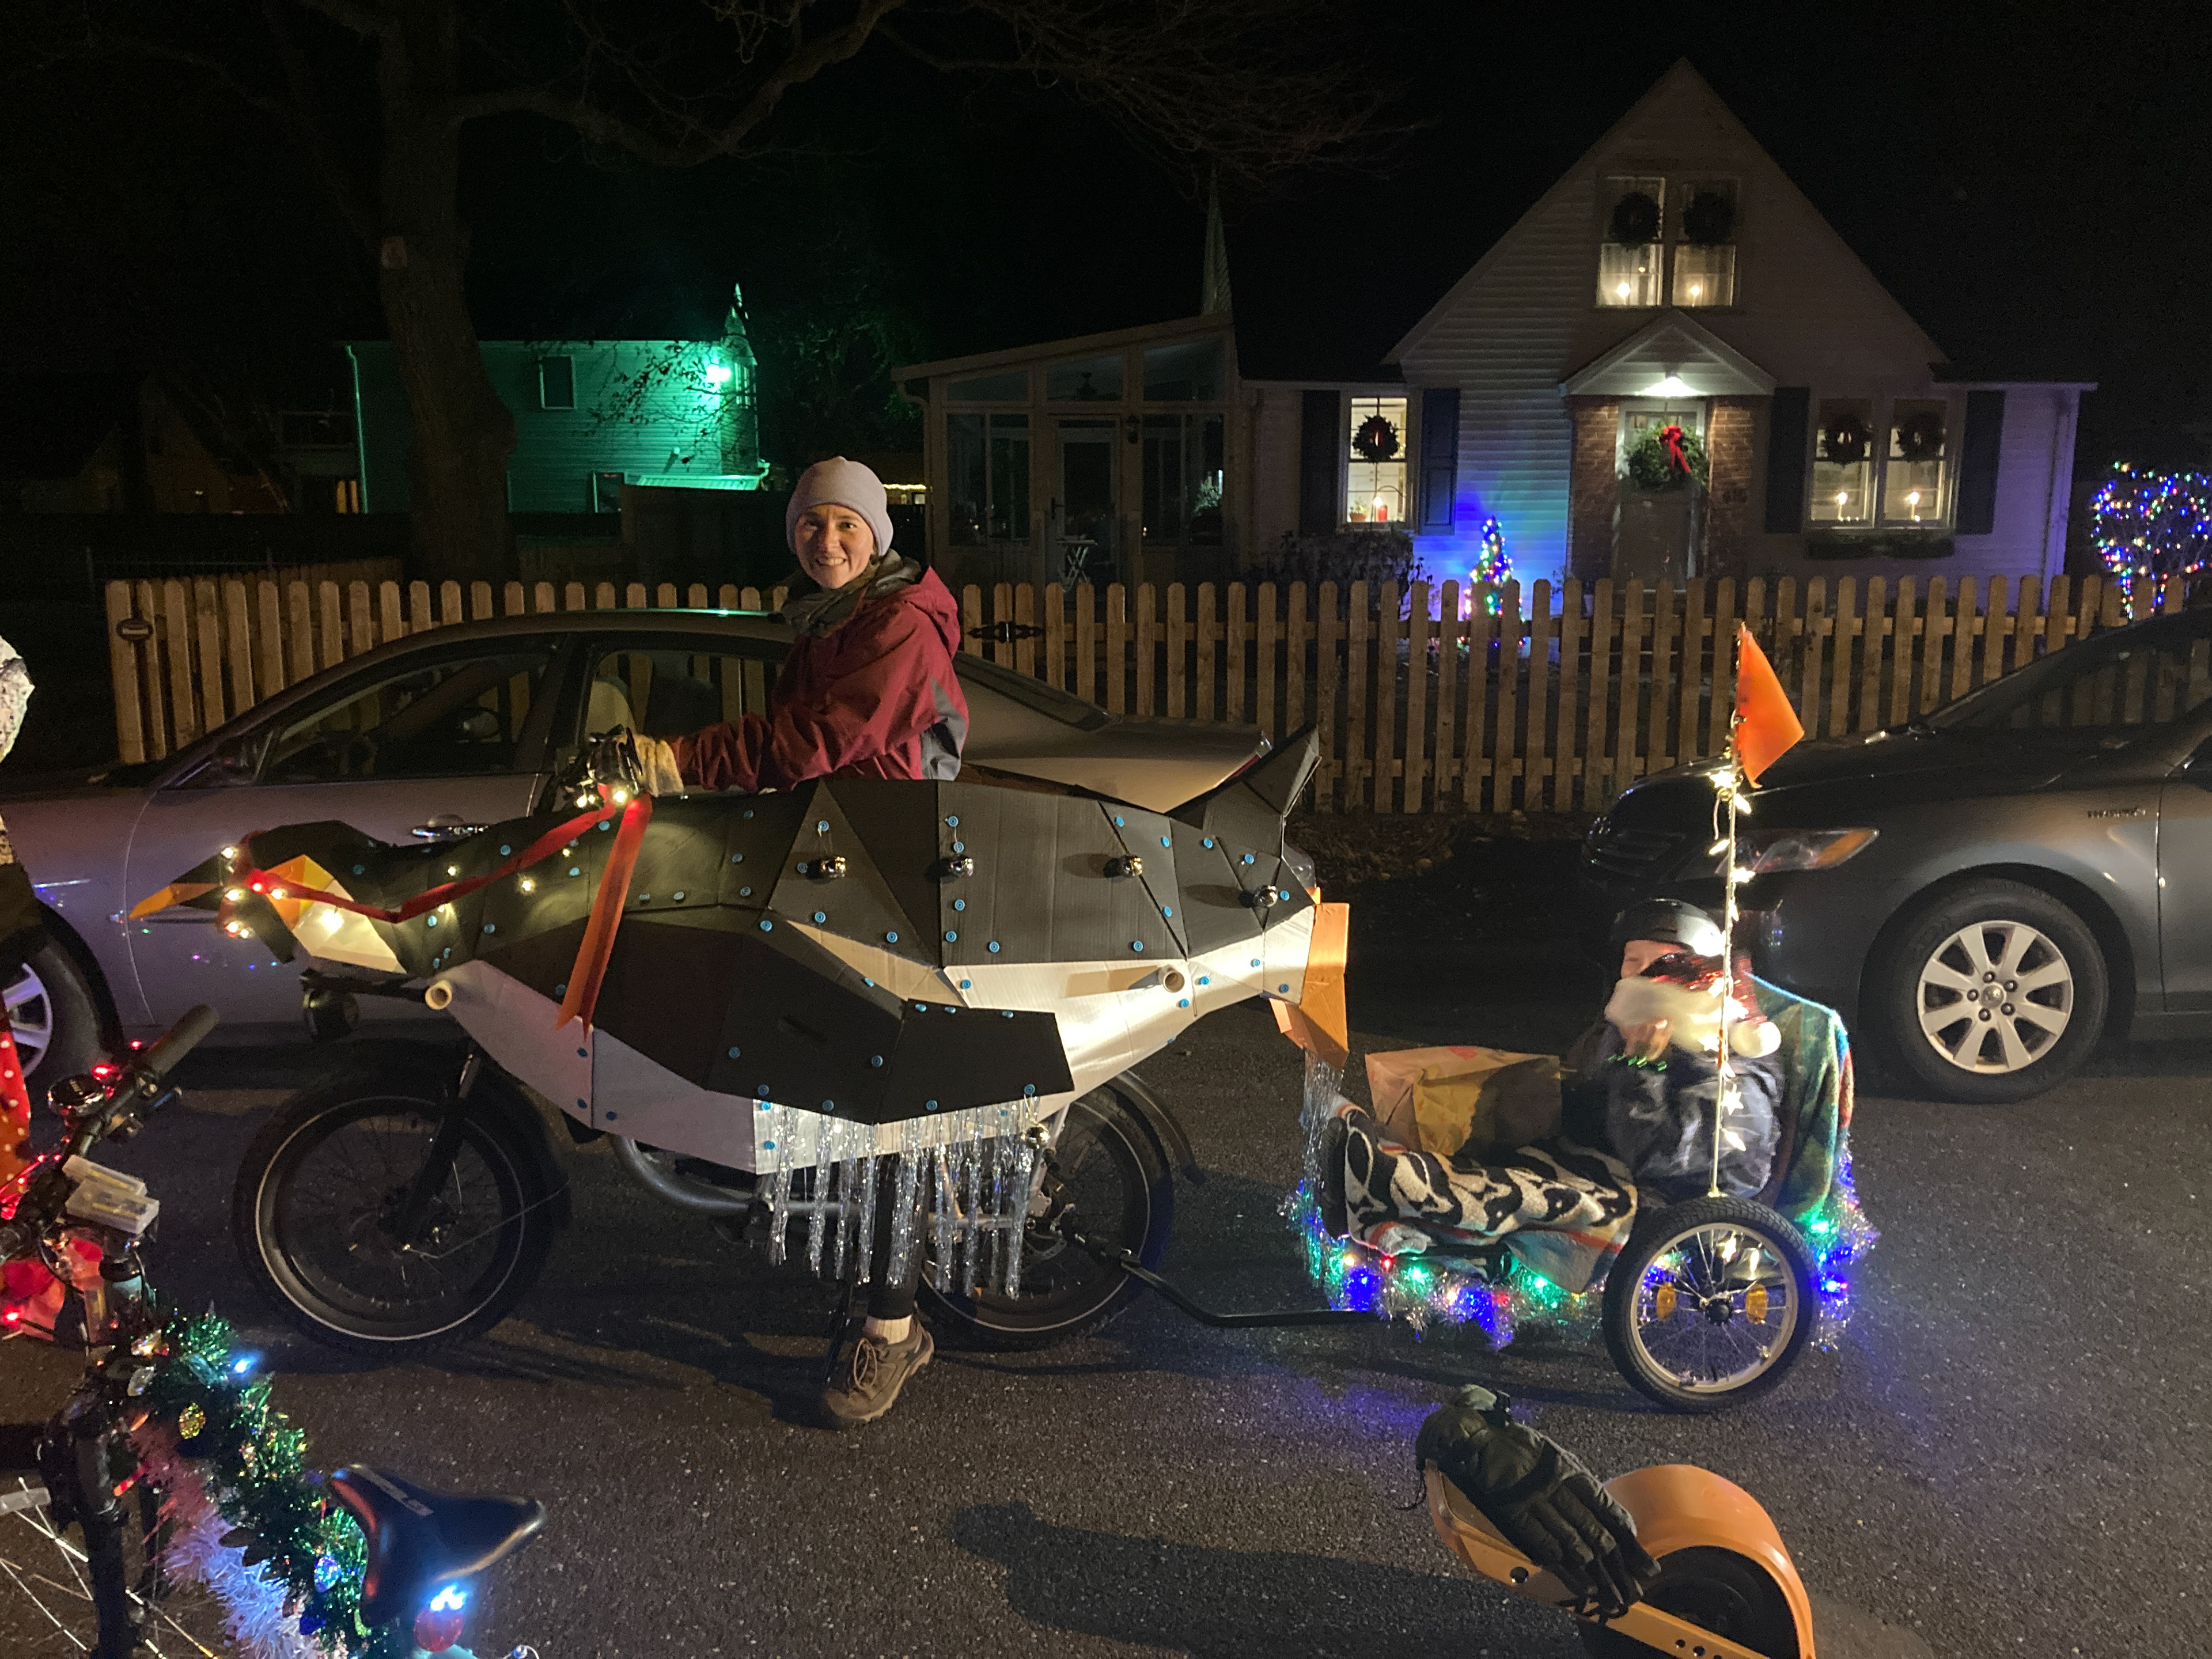
I built this penguin for my RadPowerBike out of cardboard and MakeDo scrus for a Holiday Parade.
This project is featured on the Makedo Makers Hub: https://hub.make.do/at-home/vehicles/penguin-bike-hack
How-to and cost-of-build questions? Keep scrolling, friend.
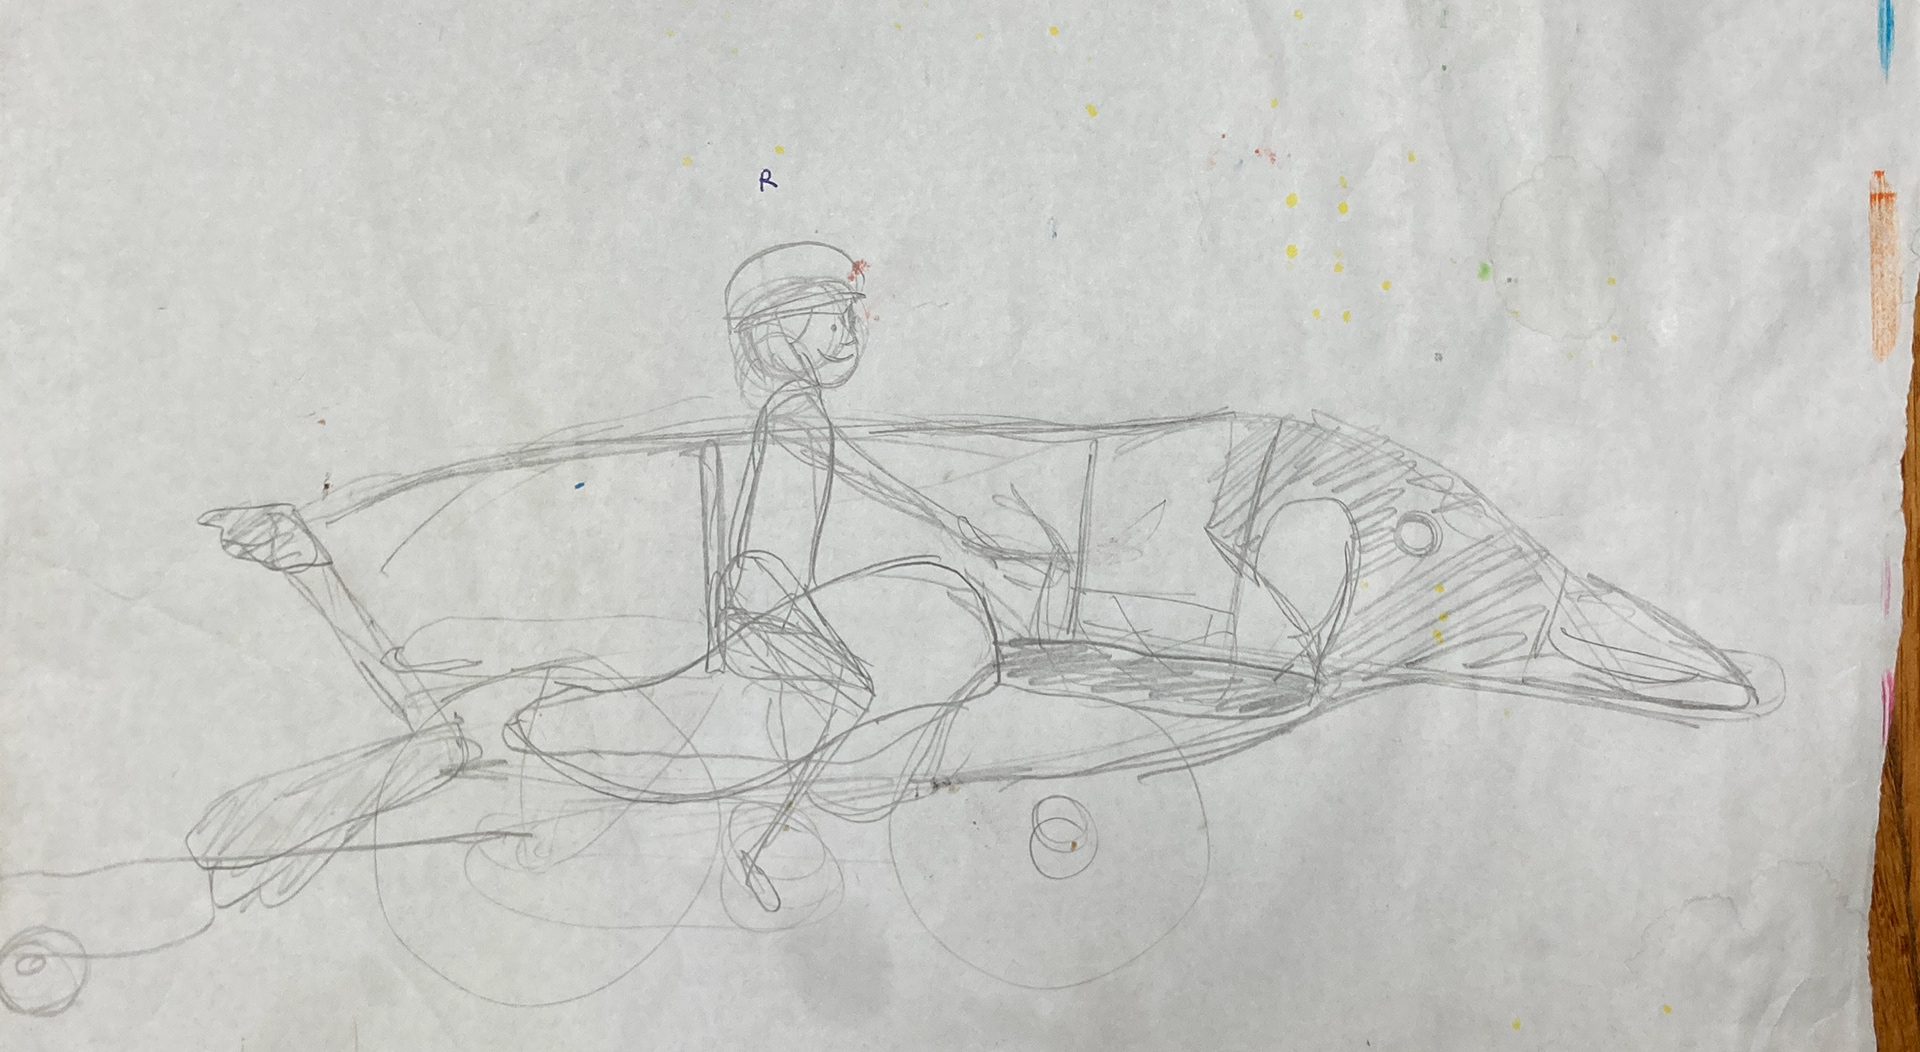
Here is my original sketch.
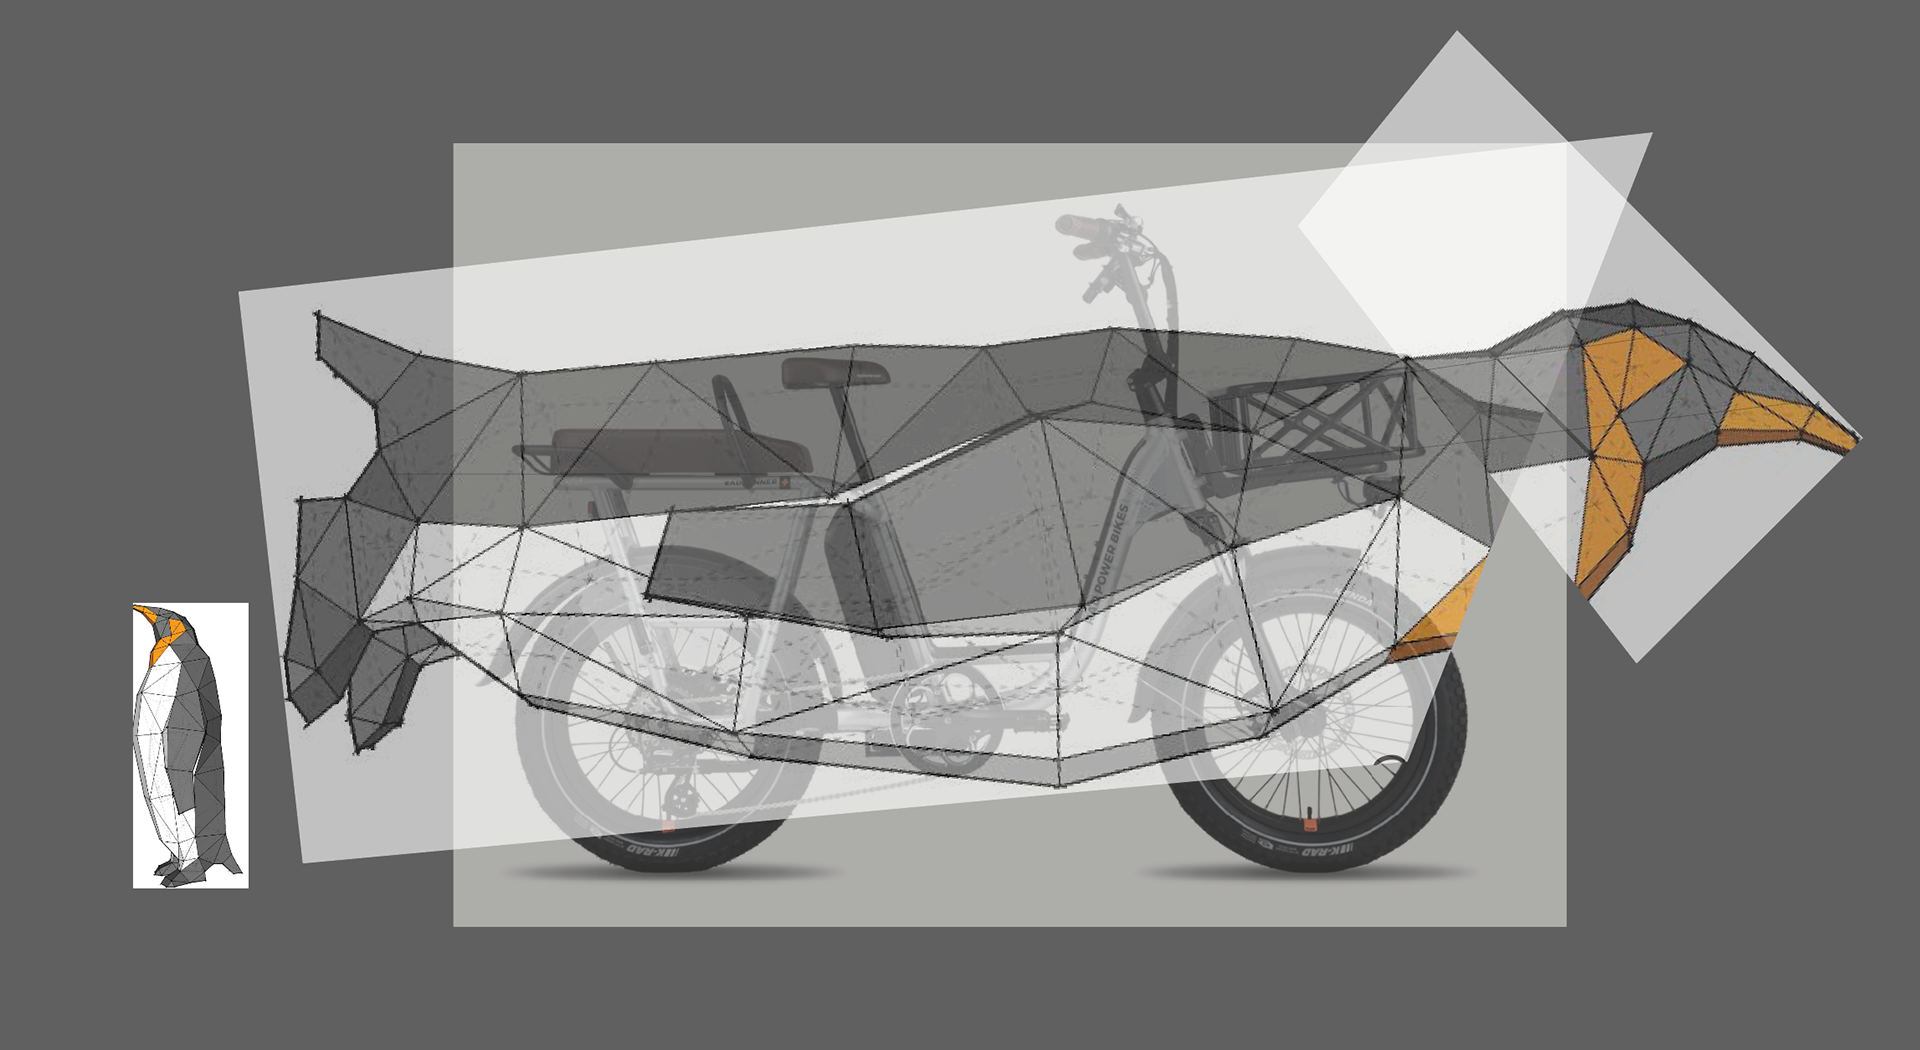
This is how I scaled the papercraft toy penguin up to fit the size of my bike in Adobe Illustrator. I realized I would have to cut the neck part at this point and would need to fill in the gaps with my own polygons while building.
I got the templates printed at full size at Staples.
Cut them out, taped each piece to cardboard.
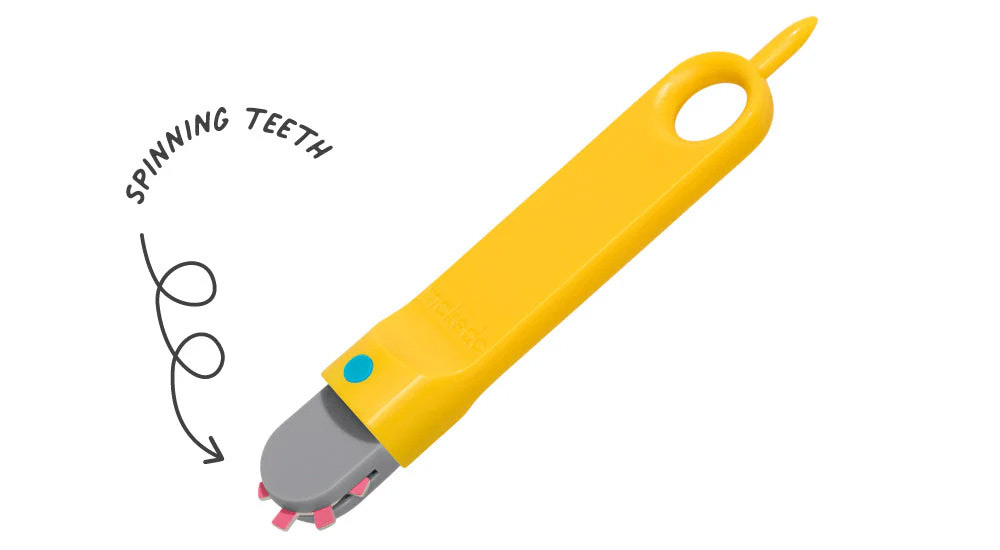
Cut out with an x-acto and used my Makedo Fold-roller to perforate
the cardboard for the folds.
I labeled all the cardboard piece edges as on the templates.
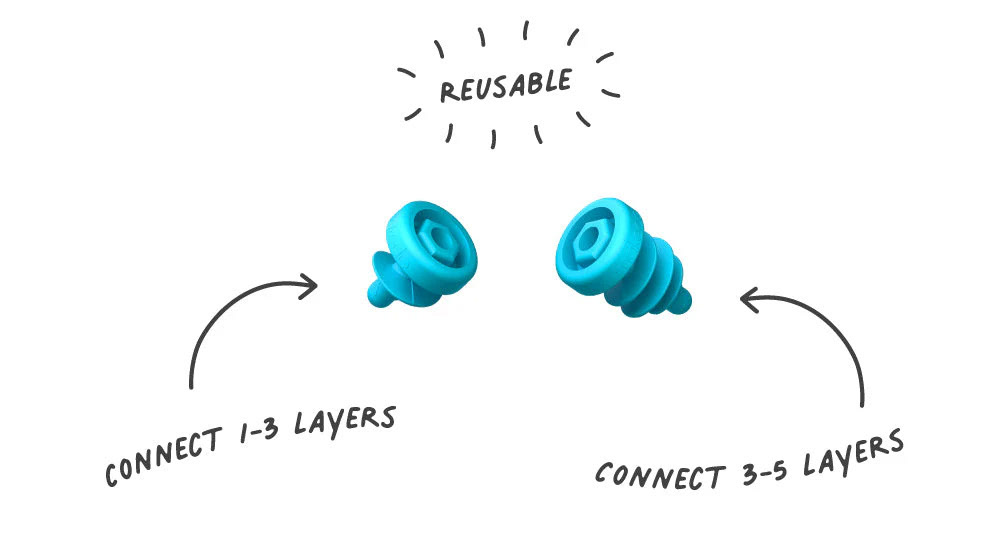
Assembled with Makedo Scrus and some Scrus+ for the thicker parts.
Cut them out, taped each piece to cardboard.
Cut out with an x-acto and used my Makedo Fold-roller to perforate
the cardboard for the folds.
I labeled all the cardboard piece edges as on the templates.
Assembled with Makedo Scrus and some Scrus+ for the thicker parts.
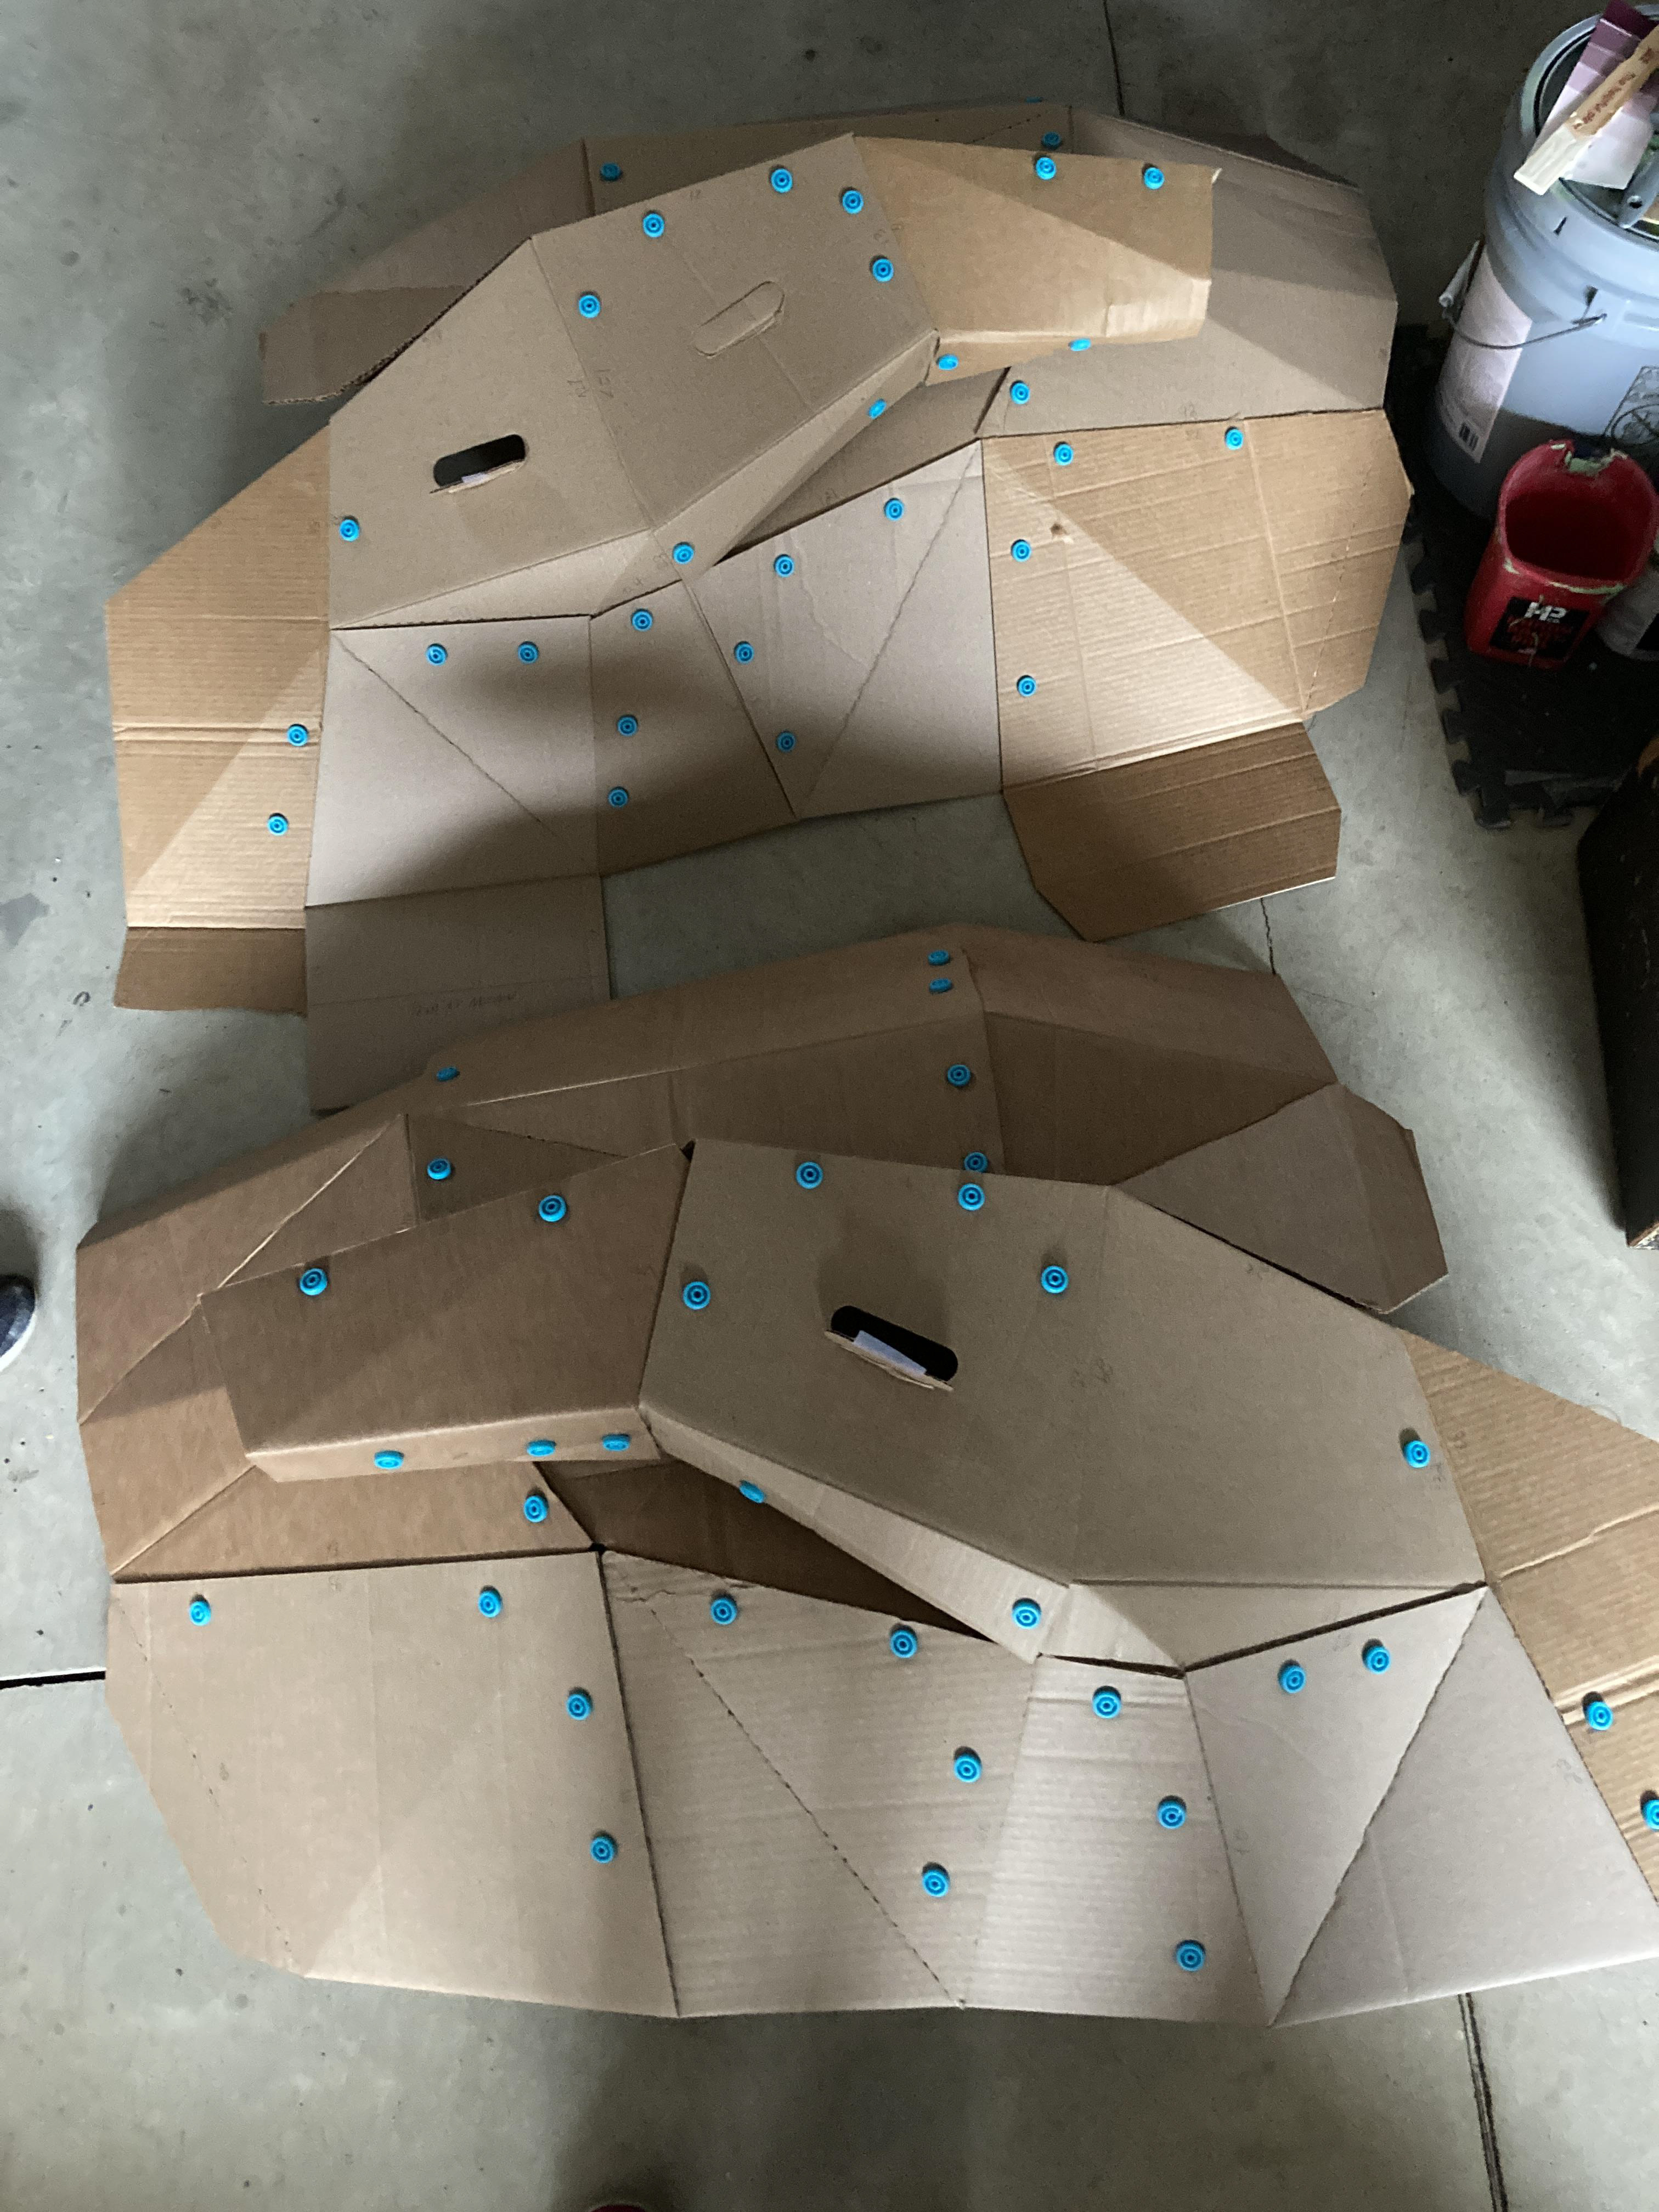
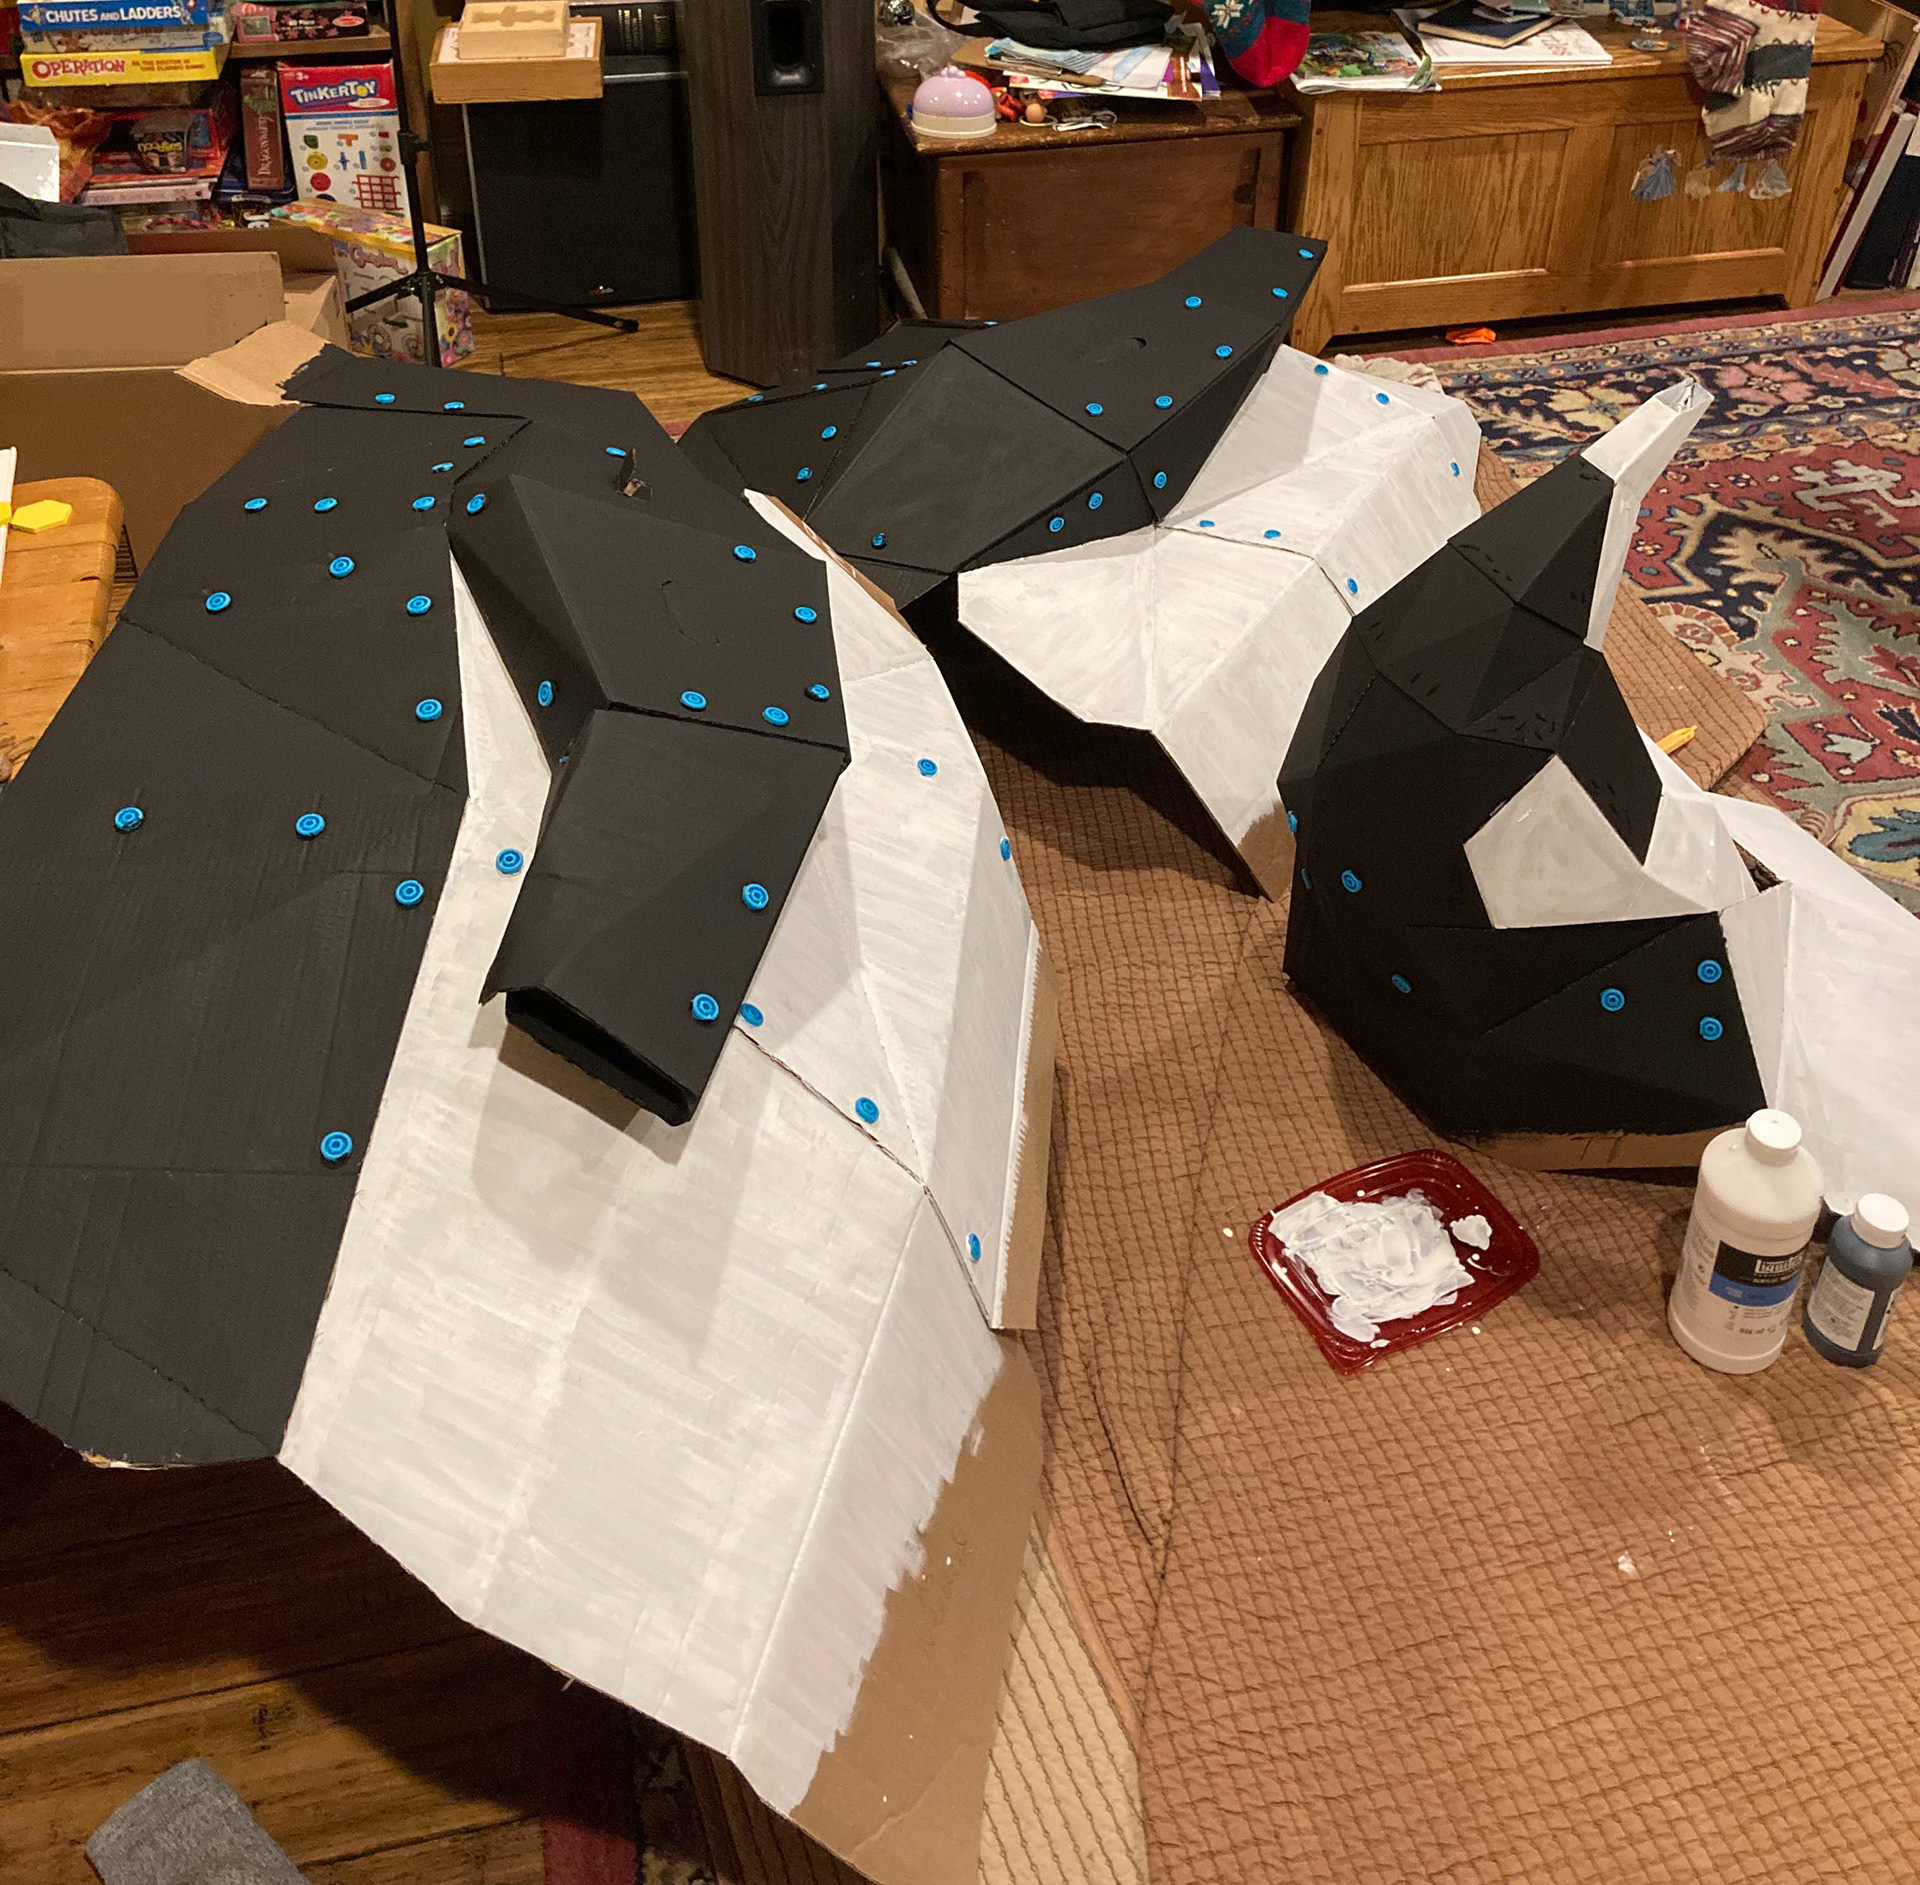
Time to paint. Black gesso only needed one coat! Amazing!
White needed... more than one.
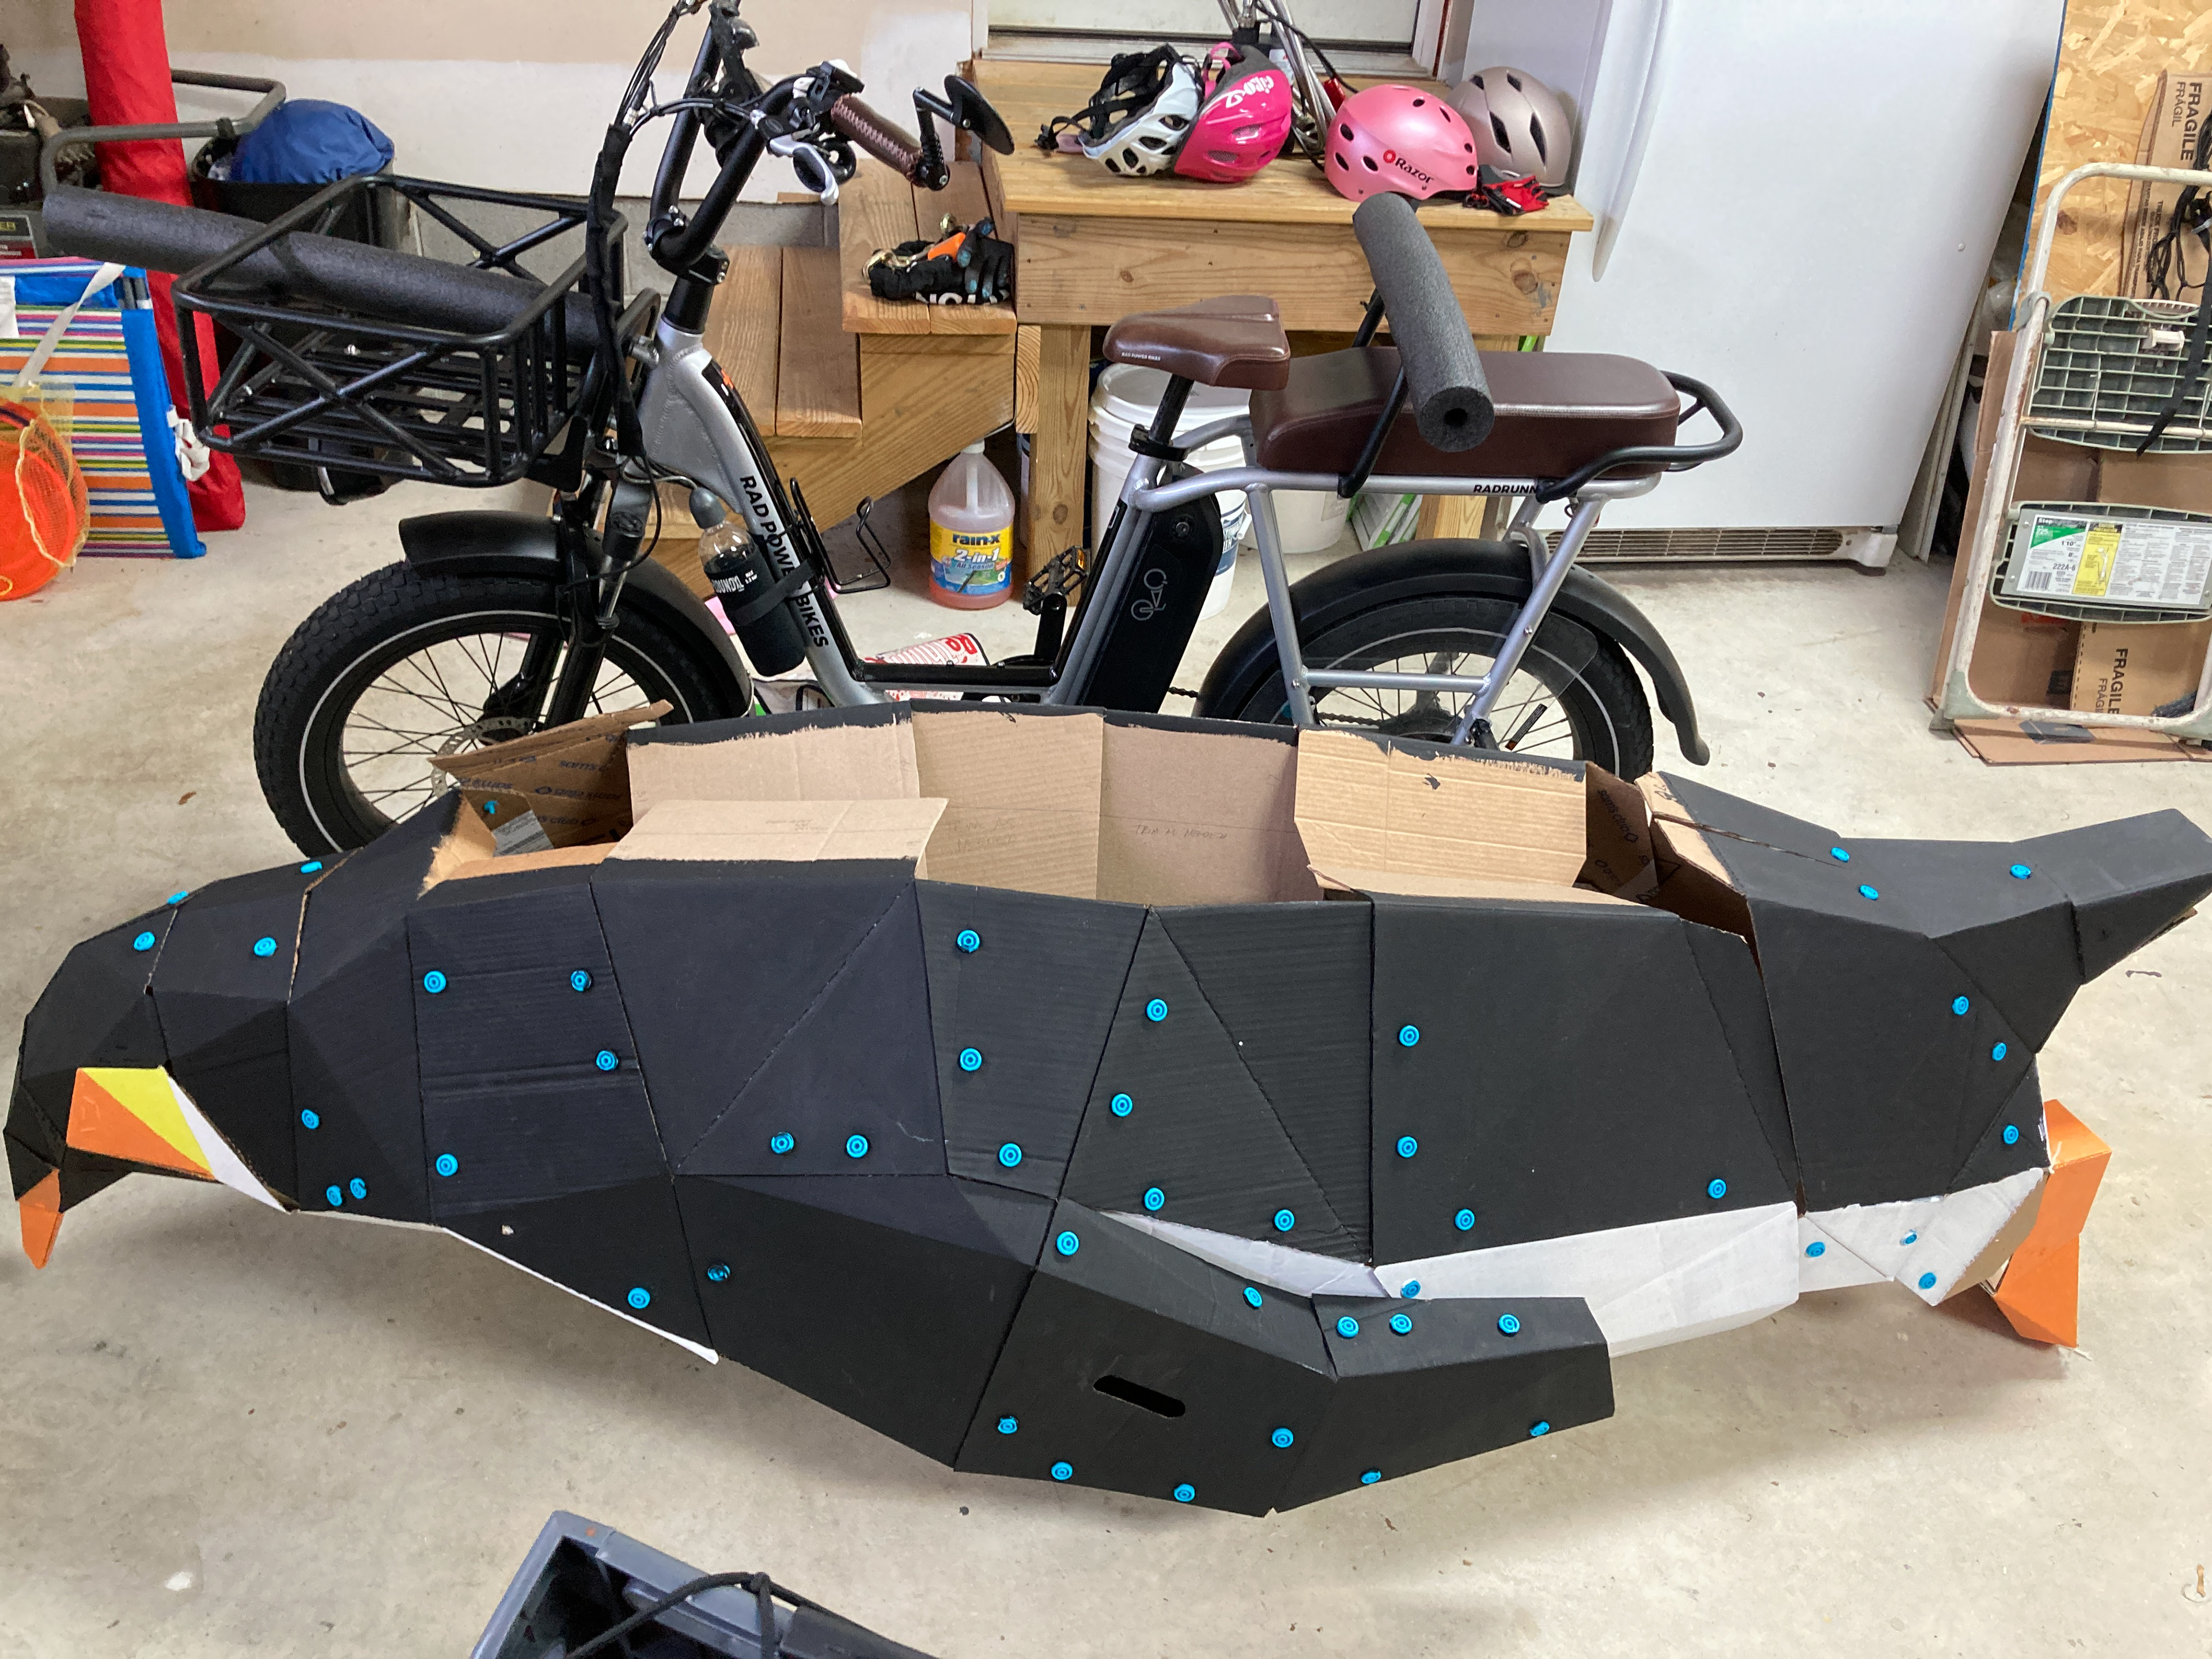
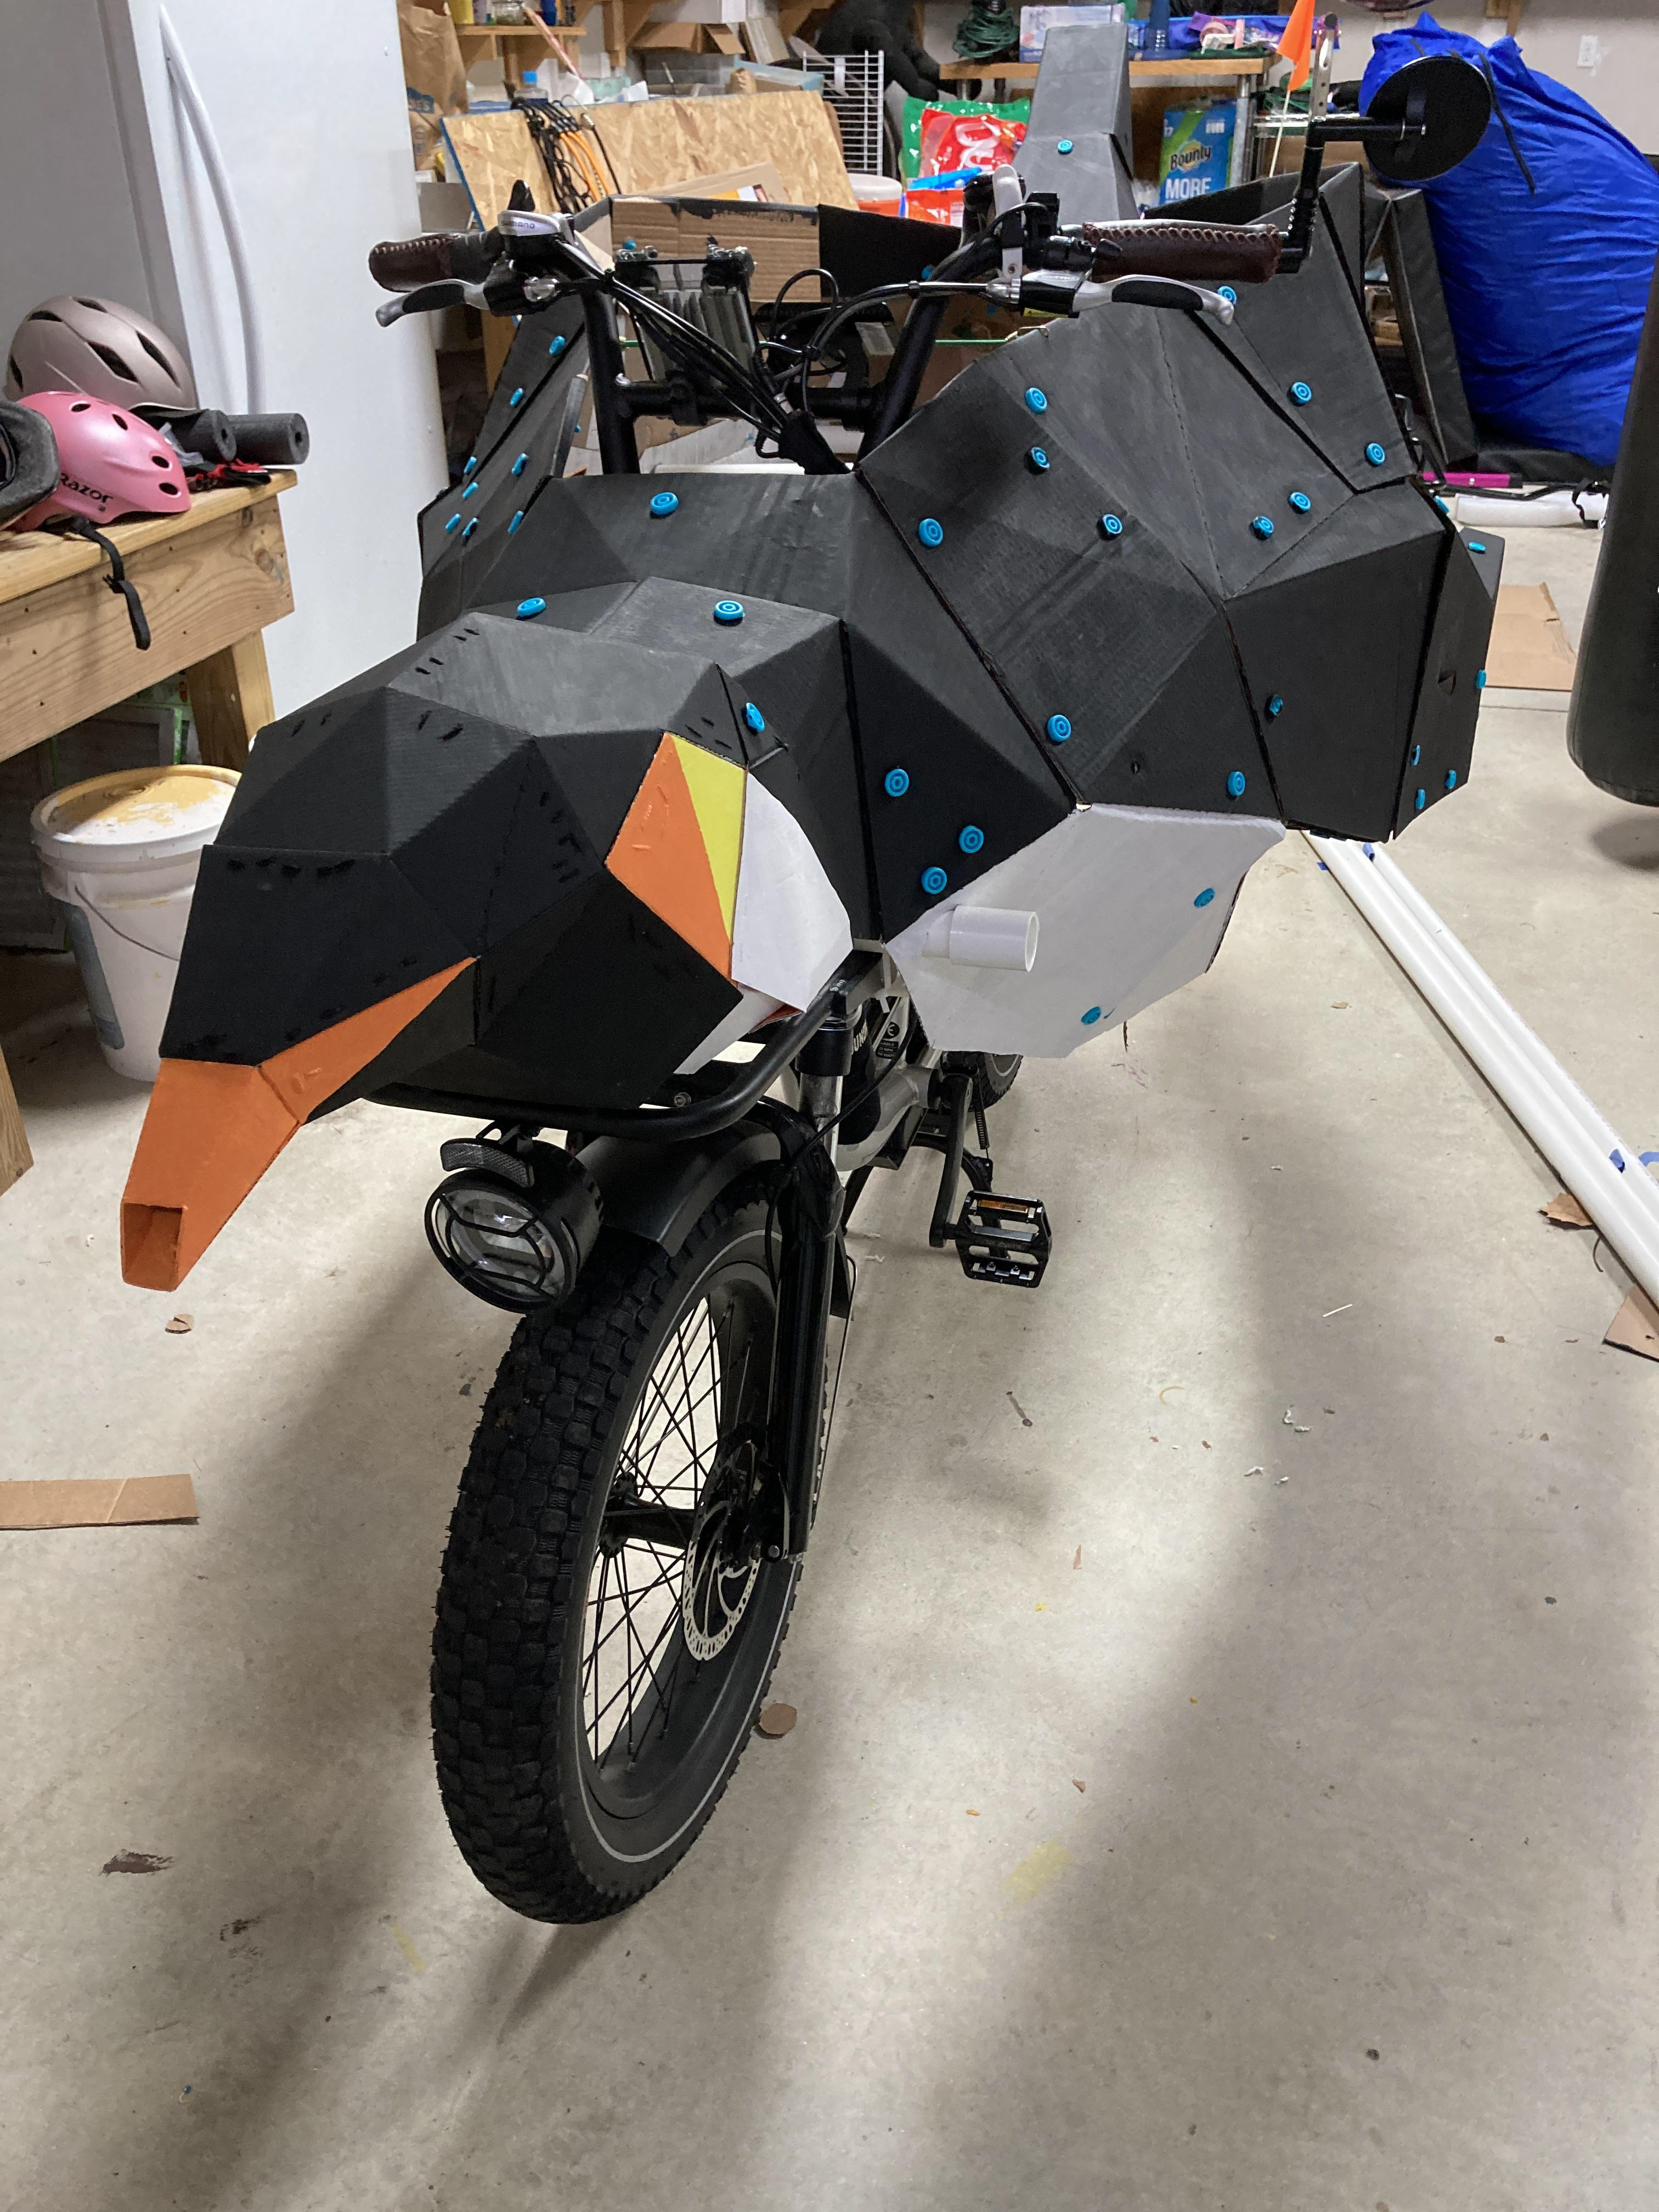
Below you can see where I stitched the head together using a tapestry needle and yarn.
The screws were a little too big for this application.
Then I painted over it.
How much did this build cost? $186
Etsy Papercraft Sculpture PDF = $8
(6) 48" x 36" B&W prints = $65 ($50 prints + $15 for Express Pickup)
Makedo Discover Kit = $50
Makedo Scru+ x 120 = $18 (I bought extra just in case and am glad that I did)
Black Gesso = $15 Wow this works great on cardboard!
White Gesso = $30 White took more that one coat, but still looked great and the gesso make the cardboard a bit water resistant.
PVC Pipe = I already had this in my garage, but a 10ft x 2" costs $15
Here's the Step-by-Step
Step 1: I bought a 3D papercraft template of a penguin on Etsy.
Step 2: I scaled it up 5x in Adobe Illustrator. Put the pieces on 48" x 36" artboards.
Step 3: Printed 6 pages at Staples as B&W architectural drawings.
Step 4: Cut out all the numbered template shapes.
Step 5: Taped them all onto scrap cardboard.
Step 6: Cut all the cardboard pieces out with an X-acto. Numbering each edge as shown on the paper toy template.
Step 7: Used makedo fold-roller to create really precise folds
Step 8: Attached all the pieces with makedo Scrus
Step 9: The scrus were too big for the tiny parts of the beak so I decided to handsew the head together with yarn and a tapestry needle.
Step 10: Painted the penguin with black and white gesso. I painted around the makedo scrus because I liked how they looked and I wanted them to be clean enough to use again.
Step 11: So now I had a 6 ft tall cardboard penguin in my garage with its back and belly split open.
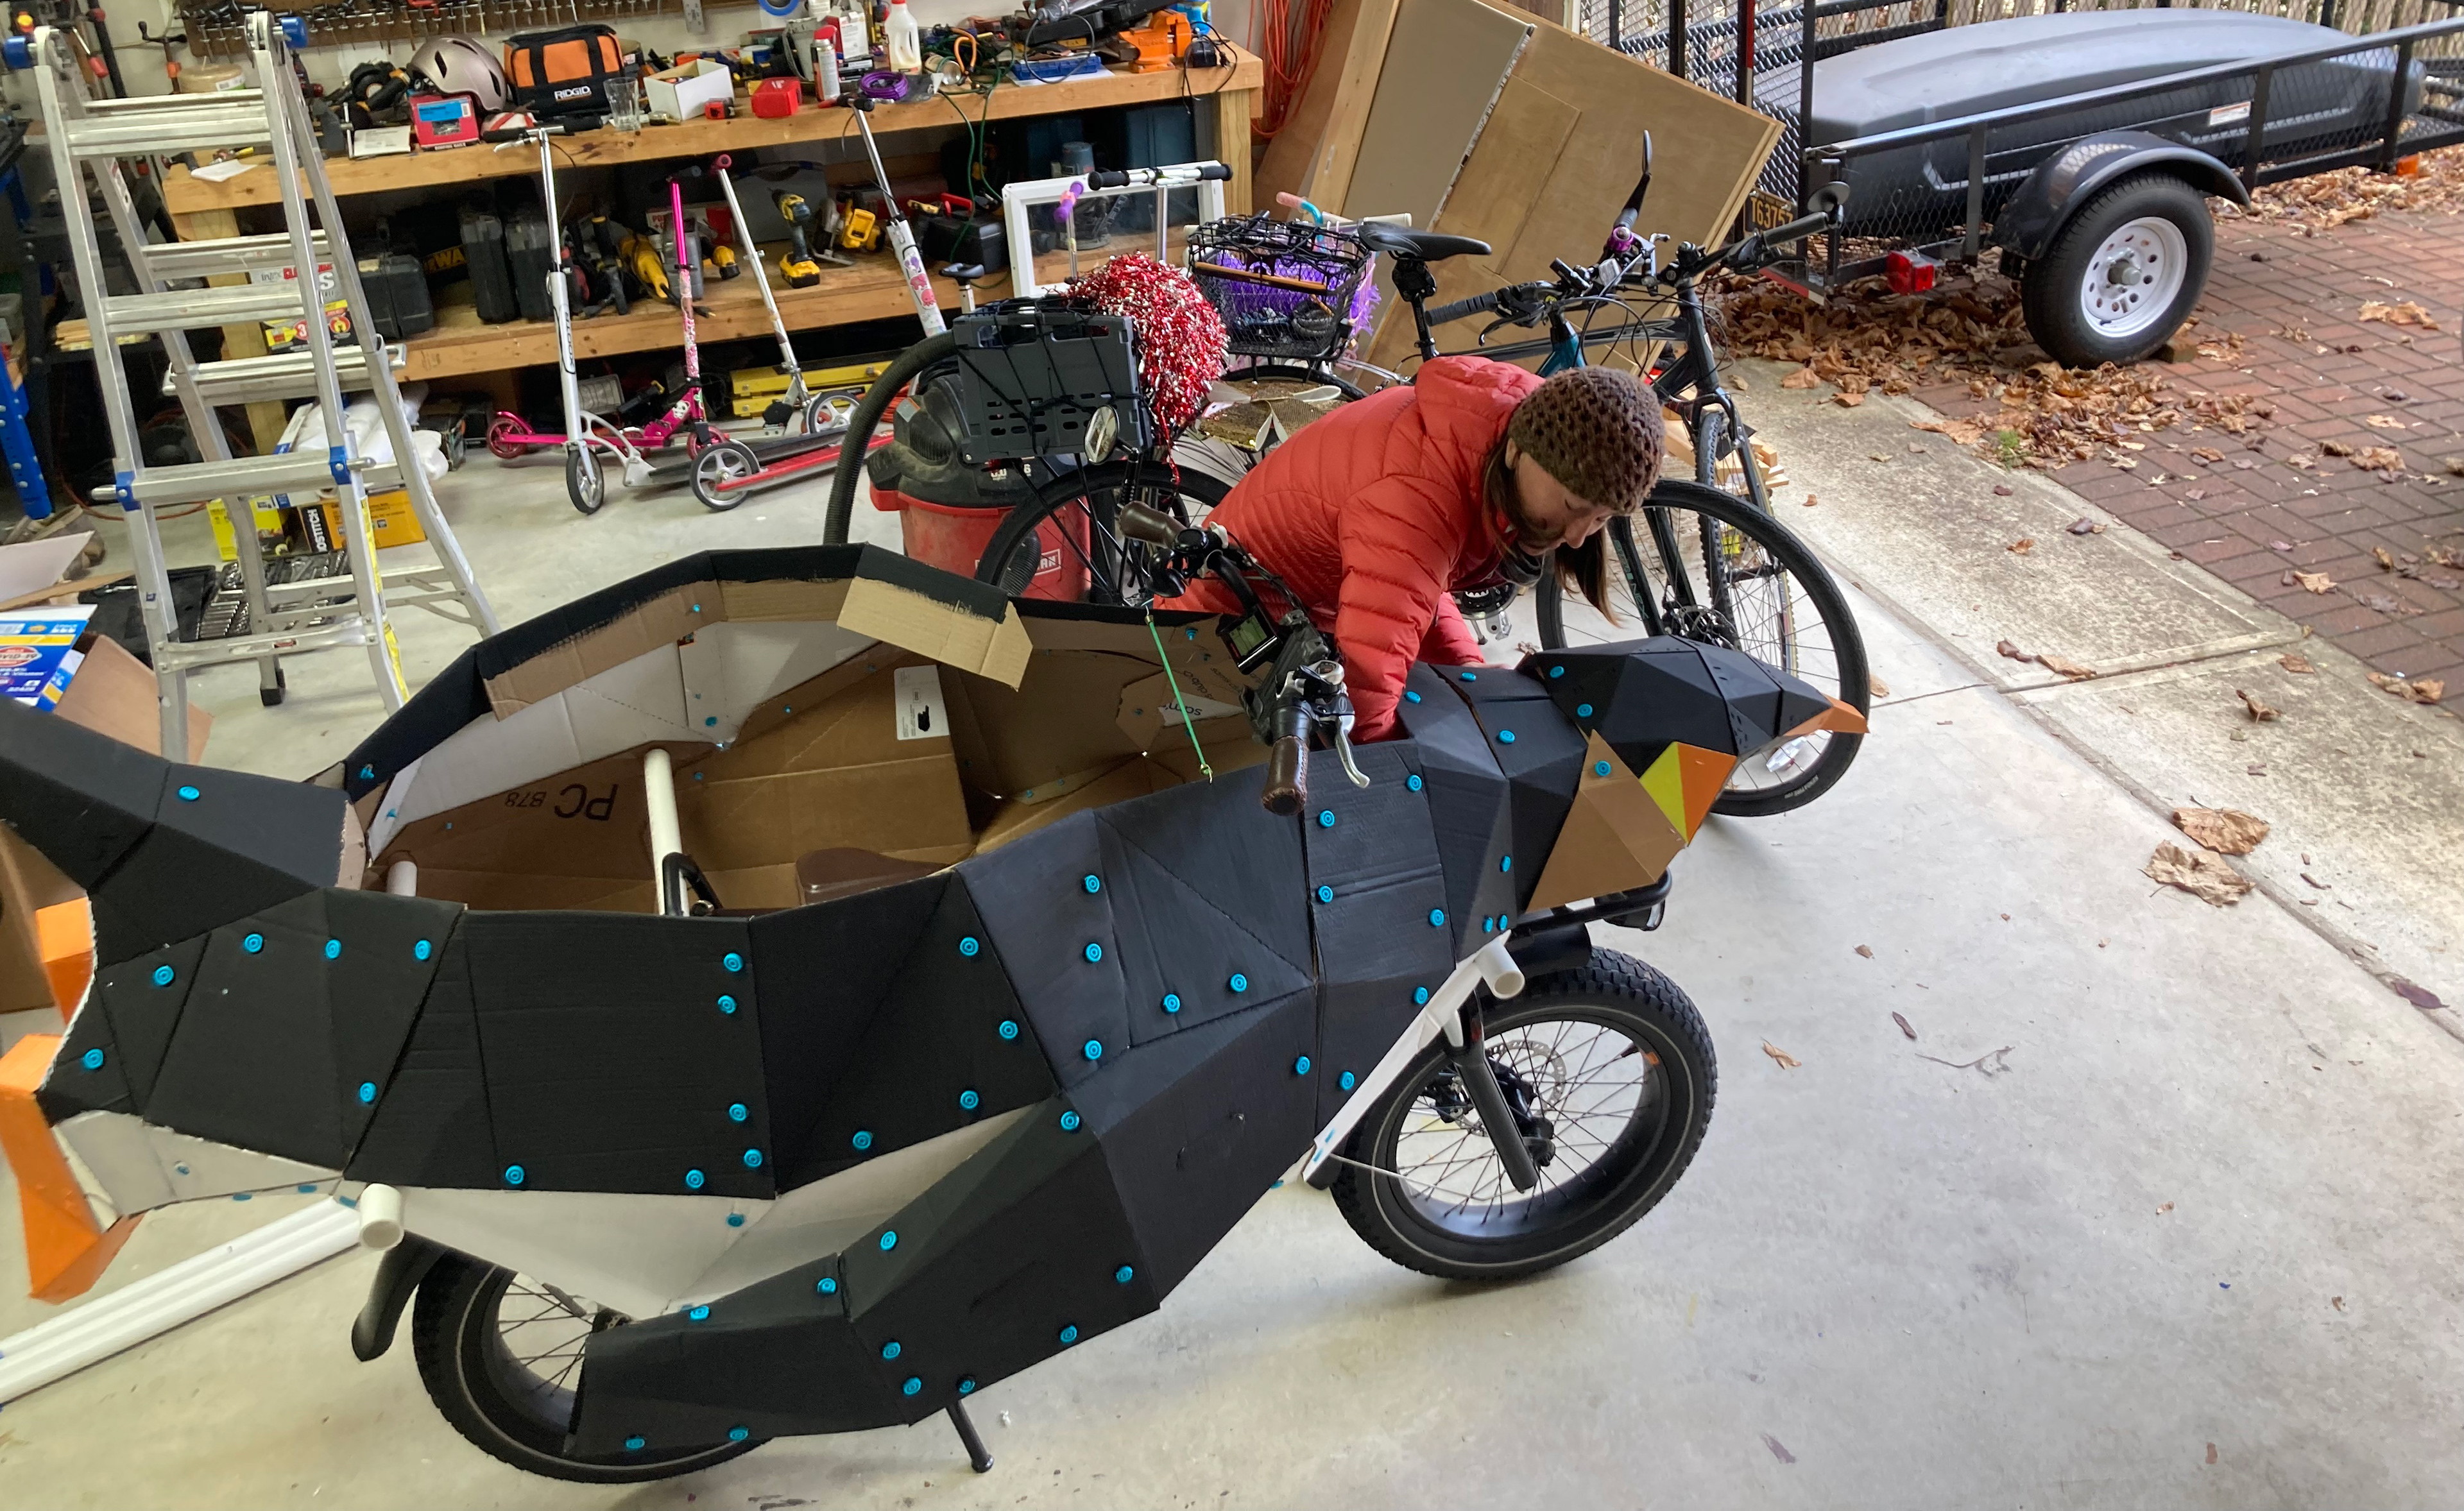
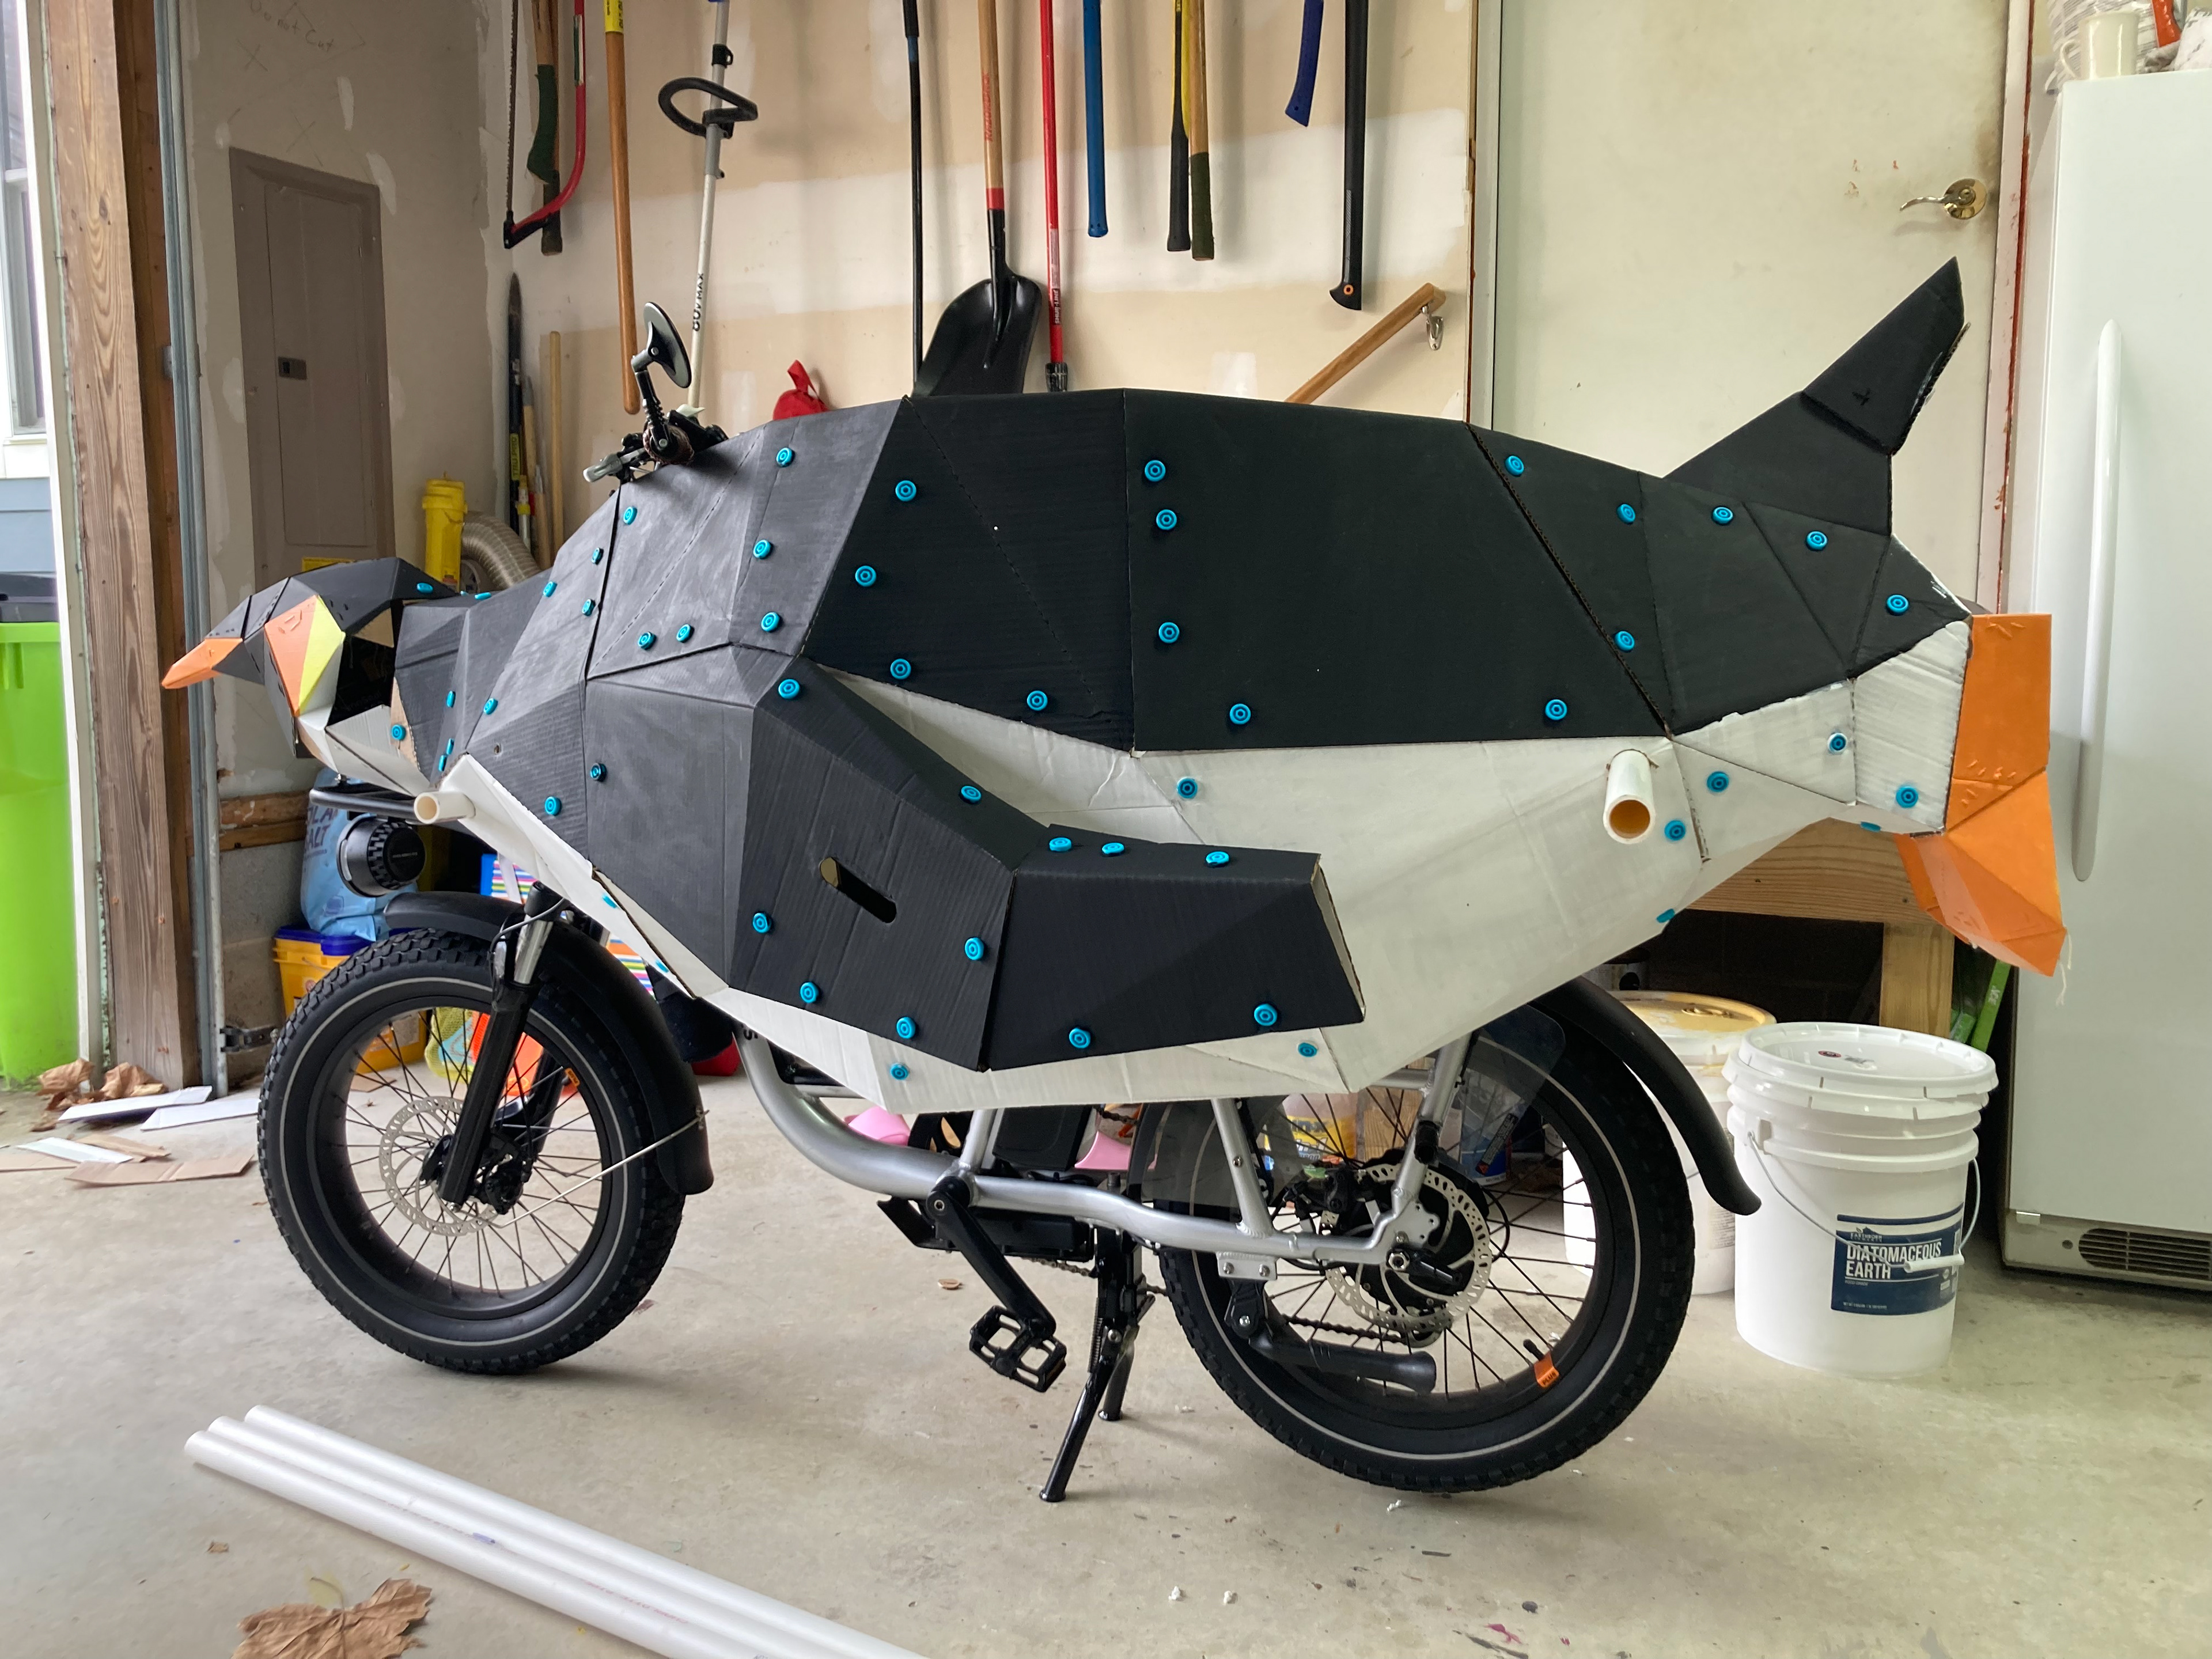
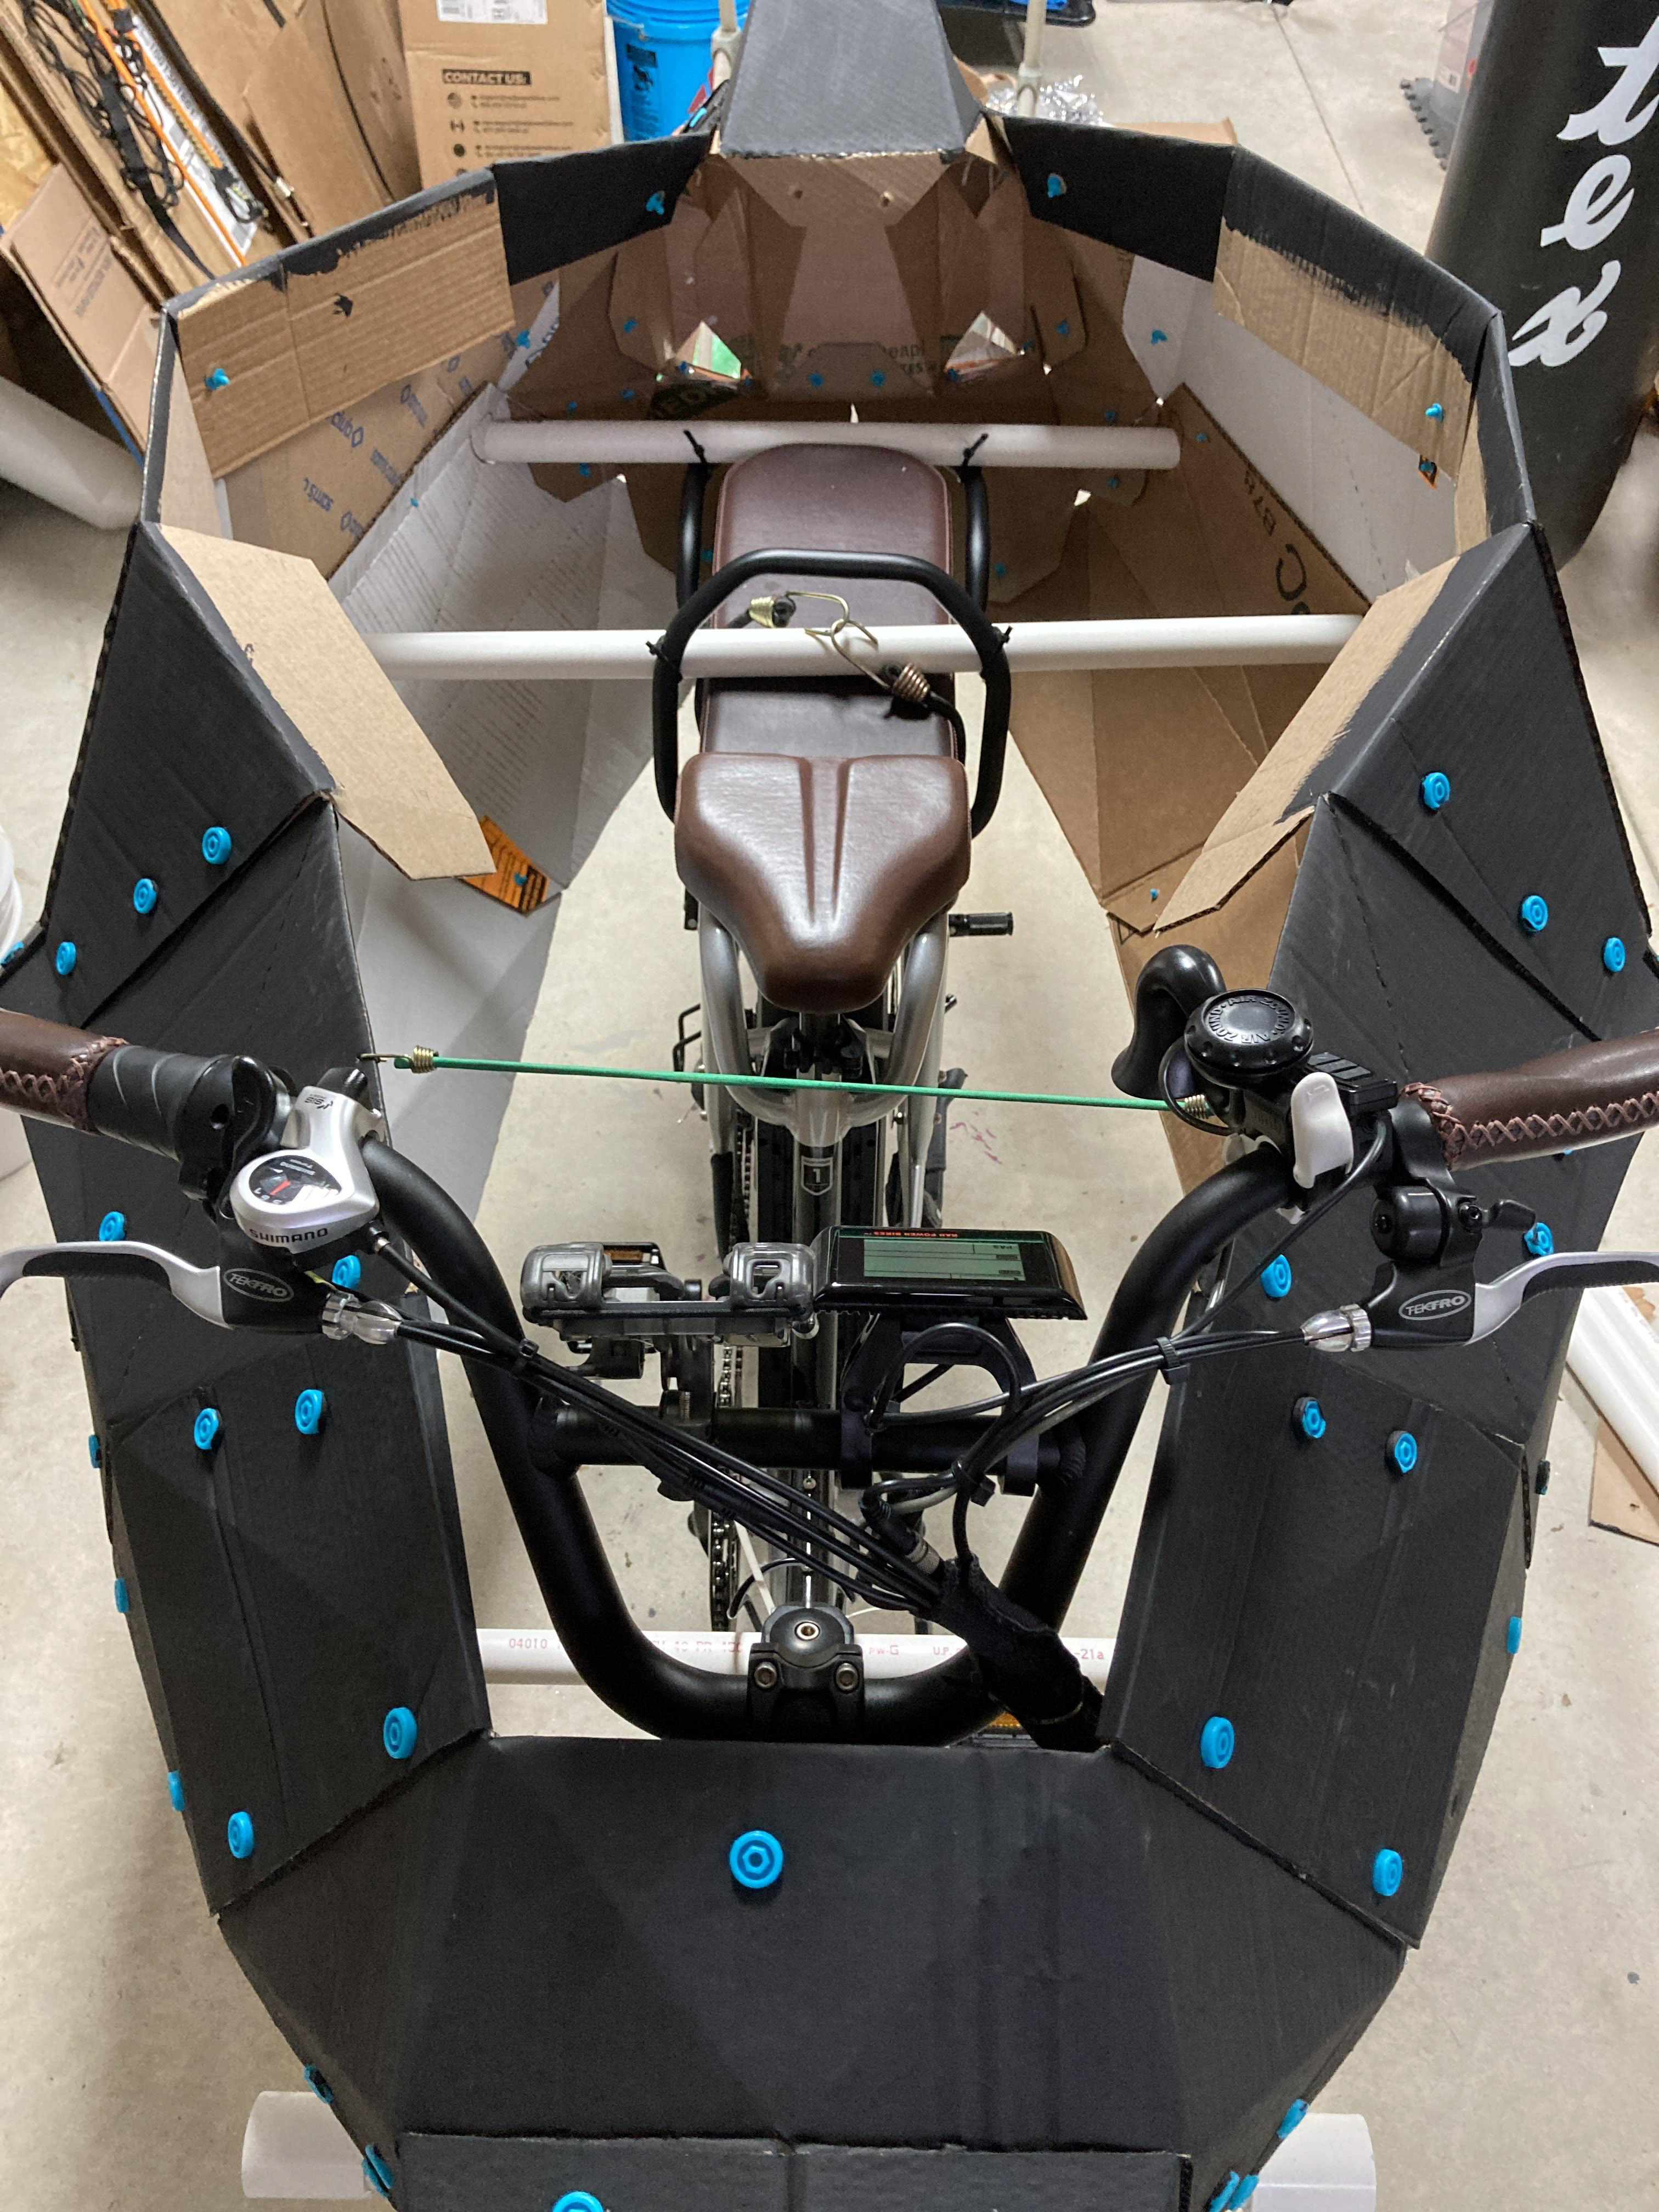
Step 12: I attached the penguin to my ebike using pvc pipes. I cut Xs on each side of the penguin where it looked like the pipe would have a spot to lay on top of the bike frame. I capped the ends of the pipes to keep the penguin on the pipes. Then secured the pipes to the bike by drilling holes through the pvc and adding zip ties through to attach them to the bike frame. I added bungee cords to prevent shifting. Also that little green bungee by the handle bars to pull the sides in a bit tighter. This was surprisingly easy.
Step 13: As show in the photos, I had to cut the throat so the head could be tipped upward to face forward. So I had to add an extra polygon on each side to close up the head.
Step 14: Final details: painted the eyes, added jingle bells, tinsel, a velvet harness, and a trailer with kids along for the ride.
Step 15: How do you get on the bike? Stepladder.